Team Members
Overview
Adding team members to your project is one of the most effective ways to scale your recruiting process. You can add as many team members as you want — there is no limit.
Adding a Team Member
- Click on "Name & Members" in the menu
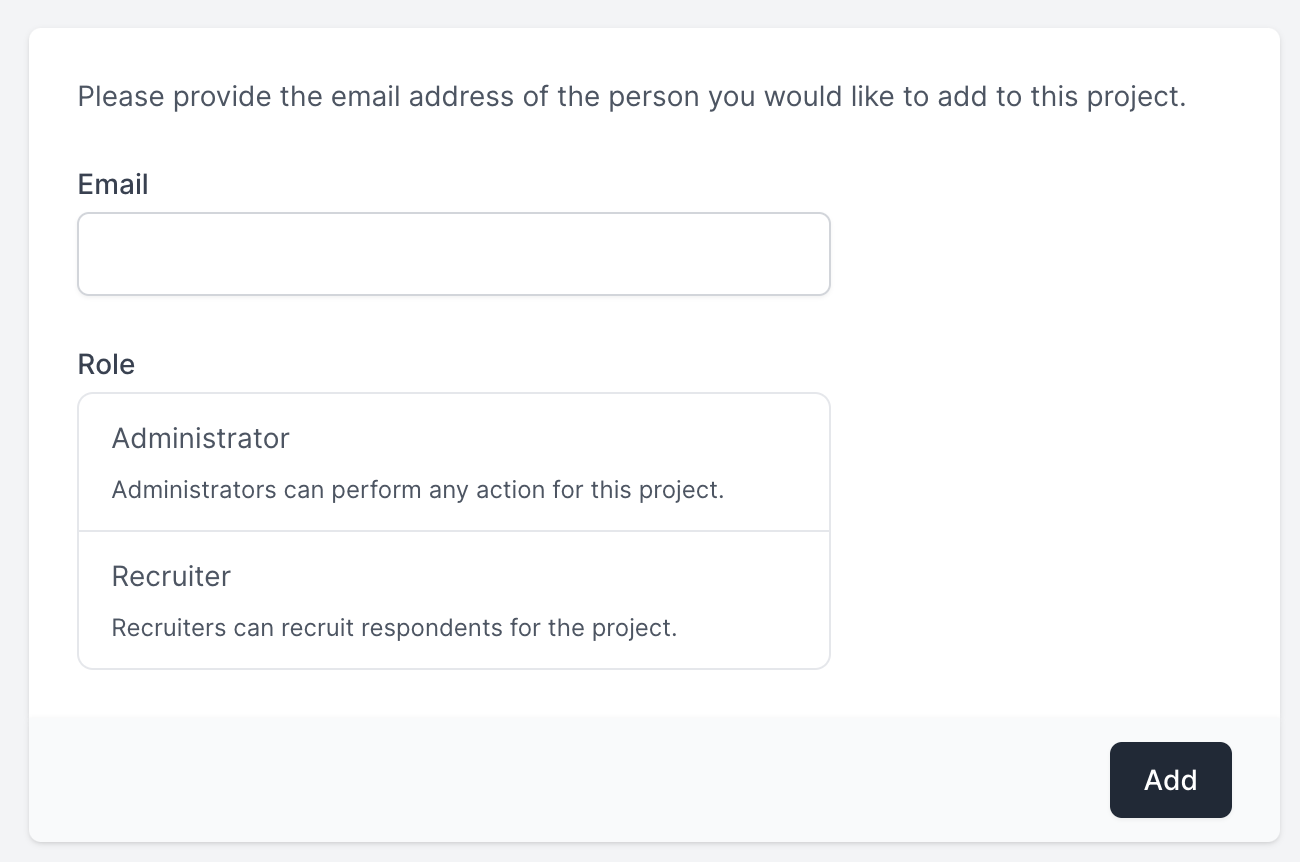
- Type or paste the email address of the team member
- Select the role and click "Add"
The team member will receive an email with instructions on how to join your project.
Roles
There are three roles, each with different permissions:
Owner
The person who created the project. The owner has full access to all features and is the only person who can delete the project. Ownership cannot be transferred — the owner is always the project creator.
Administrator
Administrators can perform any action in the project: manage team members, change project settings, create and edit slots, manage modes and products, configure questions and invitations, and more. The only thing an administrator cannot do is delete the project.
This role is ideal for team leads or colleagues who need full access.
Recruiter
Recruiters can book respondents and edit the slots they booked. They cannot change project settings, manage other team members, or access administrative features like statistics or bulk operations.
This role is ideal for external recruiters or agencies responsible for finding and booking respondents.
Onboarding New Members
Members with an Olivia Account
If the team member already has an Olivia account, they are added to the project immediately and receive an email with a direct link to the project.
Members without an Olivia Account
If the team member does not have an account yet, they will be guided through account creation:
- Create account: The team member clicks the link in the email and creates an Olivia account
- Verify email: A confirmation email is sent — the team member clicks the verification link
- Accept invitation: After verification, the team member can accept the invitation and access the project
Managing Existing Members
Changing Roles
Administrators and the owner can change a team member's role at any time. Click the "Manage" button next to the member's name, select the new role, and save.
Removing Members
Administrators and the owner can remove team members from the project. Click the "Remove" button next to the member's name and confirm. Removed members lose access to the project immediately but their previous bookings remain intact.
Cancelling Pending Invitations
If a team member has not yet accepted their invitation, you can cancel it by clicking the cancel button next to the pending invitation.
Leaving a Project
Any team member can leave a project on their own by clicking the "Leave" button — except for the owner, who cannot leave the project they created.
Related
- Create a Project — how to set up a new project
- Project Messages — communicate updates to your team
- Booking — how recruiters book respondents
- Account Settings — manage your personal account